Commercial geothermal projects often involve the installation of large numbers of ground-source heat loops. An engineering firm specifies the number of the boreholes, the depth of the boreholes and the thermal conductivity of the grout. The grout serves as an integral part of a properly functioning heat loop system, and also creates a low-permeable seal through the length of the borehole. With the introduction of readily available, highly conductive materials to add to grouts, the geothermal conductivity specification for projects can be quite high. It is not uncommon to have a project requiring a grout to meet a thermal conductivity specification of 1.6 Btu/hour-foot-°F. Contractors can meet these specifications with the addition of graphite to grout.
Graphite is highly conductive and meeting high thermal conductivity specification requires only a small amount. Following the manufacturer’s recommendation on the mixture of grout, water and graphite is very important. Adding additional water, for instance, will lower the thermal conductivity of the grout mixture. I recommend using a water meter and taking time to ensure the proper volume of water gets added to the grout mixer when starting a project. Test grout for the first borehole to ensure the mixture meets the specified thermal conductivity.
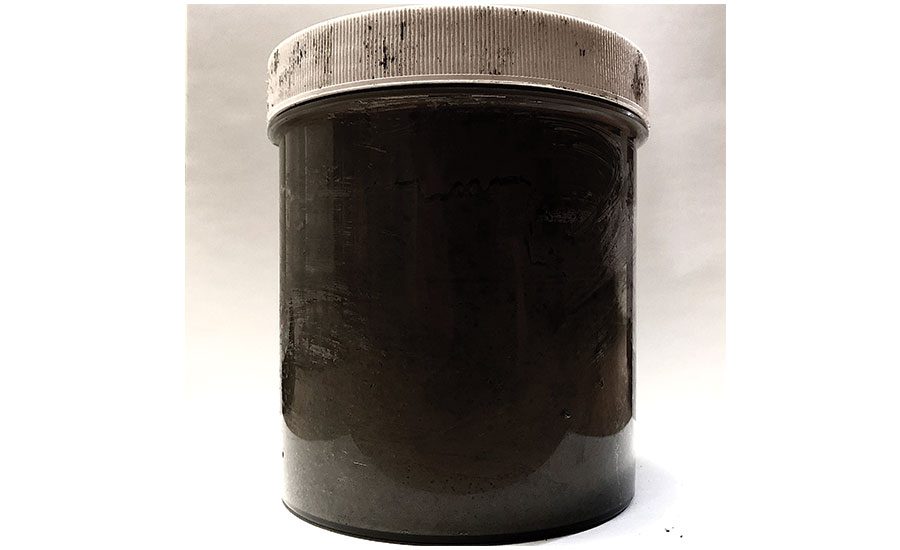
The manufacturer will provide jars to take samples, which operators can send back to the manufacturer for testing. (These jars can also be sent to an independent laboratory.) The jars have a specific depth and diameter required for the testing equipment. If contractors choose not to use provided jars, CETCO recommends jars that are a minimum of 5-inches deep and at least 4-inches in diameter. Jars must also have a wide mouth rather than a constrictive opening. Improperly collected samples, or jars not large enough to provide an adequate sample for testing, can end up delaying projects.
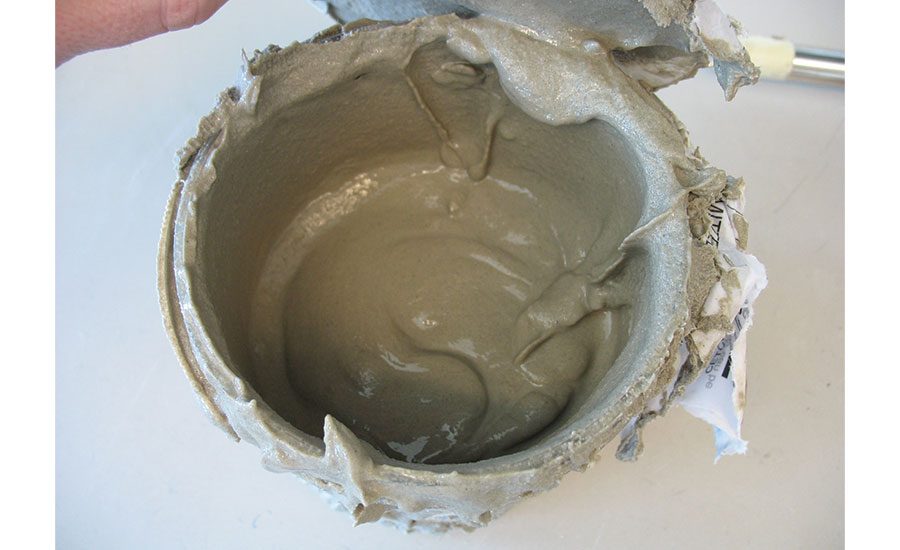
Follow these steps to ensure a good sample of grout for thermal conductivity testing. Mix the grout per the manufacturer’s instructions. A properly mixed grout forms a homogenous mixture with the graphite and/or silica sand evenly distributed through. Contractors can use a mud scale to ensure correct grout weight. A mud scale will indicate whether the correct amounts of bentonite, water and graphite and/or silica sand were used. Often, grout samples for testing come directly from the tremie pipe, though specifications for a given project may require samples from a different location (like the grout mixer or top of hole). Some projects may require samples taken from multiple locations. When taking a sample, fill the jar until it overflows. Tap the jar lightly on a hard surface to ensure no air pockets. I then take a ruler or flat object and slide it across the jar opening to remove any excess grout, while making sure that the grout still fills the container up to the rim. Use a clean rag and then wipe the threads of the jar thoroughly prior to screwing on the lid. Dirty threads or a buildup of grit can prevent a tight seal, raising the risk that the lid may come off during transport. Once the lid is secure, clean the outside of the entire jar well. Use electrical tape to secure the lid on the jar to make sure it does not spin off. Label the jar immediately with the following information:
- Name and contact information of contractor
- Date and time collected
- Product mix used (names and amount)
- Thermal conductivity target
It is very important, at this point, to keep samples somewhere safe and undisturbed, and let them set for a minimum of 24 hours prior to shipping. Once the sample has set, ship it for testing. CETCO Drilling Products provides an instruction sheet outlining sampling steps, as well as a form to complete and return with each sample.
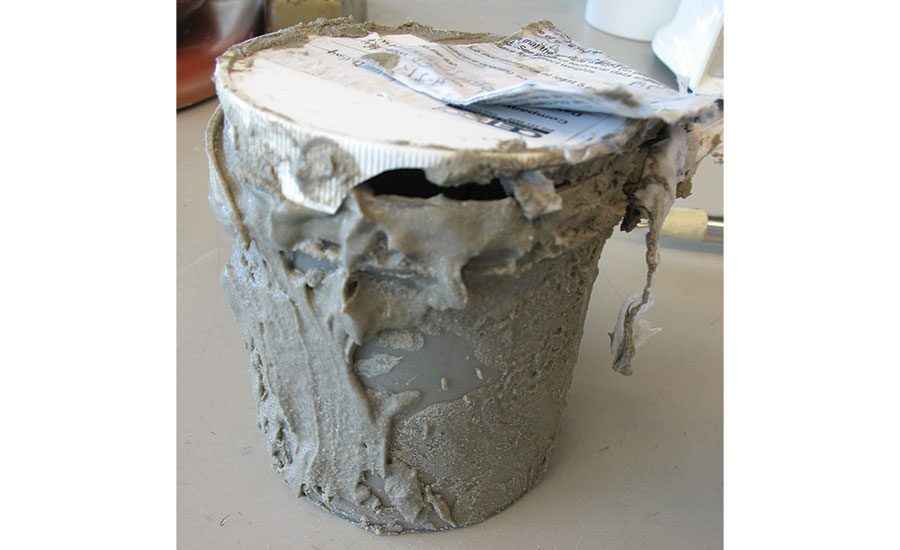
We have had many samples come to our lab not suitable for testing. The reasons for rejecting samples? Typically, contractors failed to fill jars to the top or secure the lids properly, or sent samples immediately after testing without allowing time for them to set. We have also had samples arrive with no labels at all. Following the tips noted here, as well as carefully reviewing manufacturer instructions for sample collection, can help expedite getting results in a timely manner. Prompt testing results will help keep your geothermal project on schedule.


Report Abusive Comment